

 86-0576-81122860
The Process of Plastic Injection Mould
栏目:MOULD BLOG 发布时间:2024-05-30
The Process of Plastic Injection Mould
Material SelectionThe success of the plastic injection mould process relies on the right material.
1. Plastic Material
Select the appropriate plastic material based on properties like flexibility, rigidity, transparency, or heat resistance. Common types include PP, PS, PC, PA, PET and ABS.
2. Steel Material
Select the appropriate steel material based on properties like hardness, mould guarantee life, customer’s product annual output. Common types include P20, 718H, H13 and S136.
P20 hardness is 28-32, plastic injection mould guarantee life is 200,000 shots.
718H hardness is 30-35, plastic injection mould guarantee life is 350,000 shots.
H13 hardness is 48-52, plastic injection mould guarantee life is 500,000 shots.
S136 hardness is 48-52, plastic injection mould guarantee life is 1,000,000 shots
3. Material Testing
Perform material testing to evaluate its performance under different conditions, ensuring it meets the required specifications.
Mould Design
The mould design is a crucial step to ensure high quality plastic productions.
1. Product Analysis
Analyze the product design and specification to determine the mould requirements, including parting line, gating, and ejection mechanisms.
2. Mould Cavity Design
Design the mould cavity to match the desired shape of the final product accurately. Consider factors like draft angles, wall thickness, and surface finishes.
3. Mould Tooling
Create the mould tooling, which includes the mould base, core, and cavity inserts. Use precision machining techniques for optimal mould accuracy.
Injection
The injection stage involves injecting the molten plastic material into the mould cavity under high pressure.
1. Clamping
Close the mold tightly to ensure precise part replication and prevent material leakage during injection.
2. Injection Unit
The plastic material is melted and homogenized in the injection unit, consisting of a heated barrel, screw, and nozzle.
3. Injection Speed and Pressure
Control the injection speed and pressure to fill the mold cavity adequately without causing defects like air traps or sink marks.
4. Cooling Time
Allow sufficient time for the plastic material to cool and solidify inside the mold. Cooling time depends on factors such as part thickness and material properties.
Ejection
The ejection phase of the plastic injection molding process involves removing the solidified part from the mold cavity after the cooling phase. Proper ejection techniques and mechanisms are essential to avoid part damage or deformation.
1. Ejector Pins or Plates
Ejector pins or plates are commonly used in the ejection system. These components apply force to the product, dislodging it from the mold cavity. The number, size, and placement of ejector pins or plates depend on the product's shape and complexity.
2. Ejection Mechanism Selection
Different ejection mechanisms, such as stripper plates, sleeves, or hydraulic cylinders, may be employed depending on the product design and ejection requirements. The mechanism must provide sufficient force and control for proper product ejection.
3. Ejection Force Calculation
The ejection force required to remove the part is calculated based on factors like product area, part material properties, friction between the product and mould, and any additional features such as undercuts or threads.
If you are need plastic injection mould,feel free to contact me.
Wechat / Whatsapp: +86-13306762335
E-mail: market@langkomould.com
 |
 |

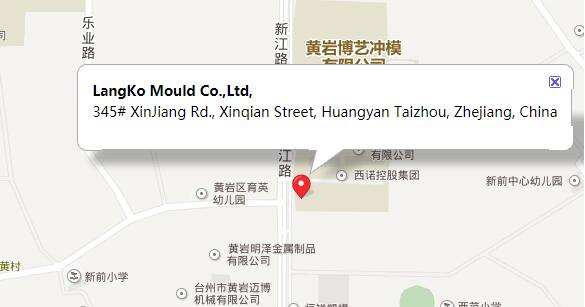
TaiZhou HuangYan LangKo Mould Co.,Ltd,  345# XinJiang Rd., Xinqian Street, Huangyan Taizhou
86-0576-81122860 mould@langkomould.com |
 |
Copyright © LangKo Mould 2021. All rights reserved.
